
 DIYbio, (Do It Yourself) biology is a growing movement that aims to make biology accessible outside of professional contexts. Over the past few years, platforms such as OpenPCR and Pearl Biotech transilluminator have been designed to support biology work in schools and maker spaces for a fraction of the cost of professional lab equipment. These exciting developments pave the way for crowdsourcing biology research amongst students, hobbyists, and non-experts. (Matt wrote a nice article introducing our work on DIYBio at SANDS.)
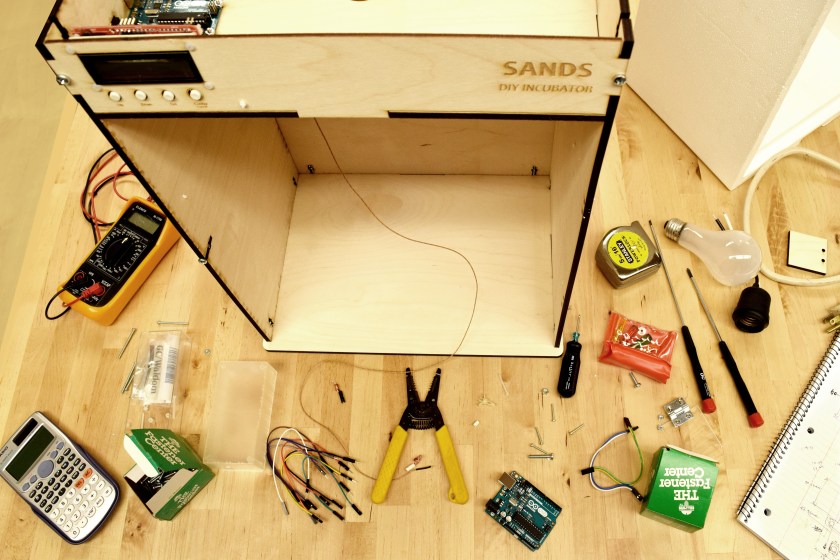
This post is about our contribution to the growing number of open source biology tools by developing a low-cost, yet relatively precise and easy-to-use incubator. An incubator is an essential tool for a number of biological experiments and is often used in bacterial cell culture experiments. Given the higher price range of the commercially available incubators (upwards of several thousand dollars), non-professional biology enthusiasts might not afford to add an incubator to their stock of DIYbio tools. In our instructable, we describe how to build a low cost (under $70), yet accurate ( +/- 0.25C) DIY incubator using simple materials and some basic electronics components.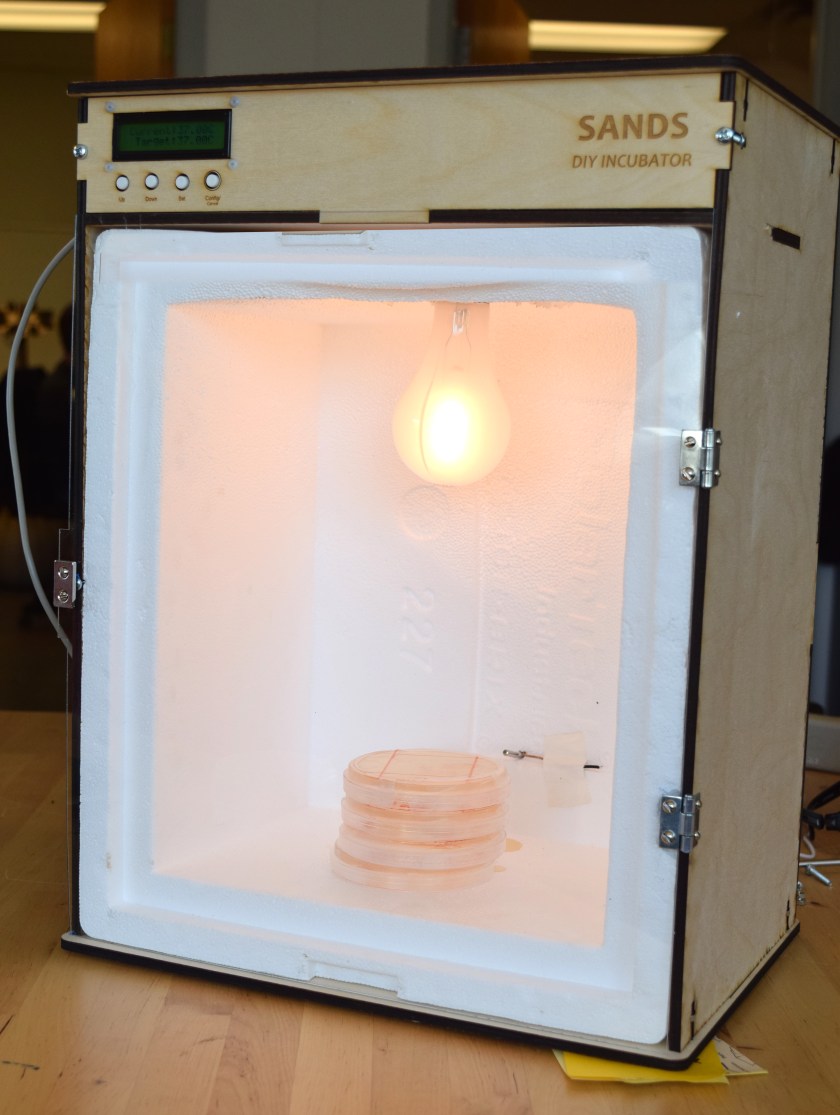
The goal of the incubator is to keep a constant temperature inside. On the most basic level, we are using a temperature sensor and a light bulb as our heating element. The change in temperature inside the incubator is proportional to the amount of heat emitted by the tungsten bulb minus the heat loss through the walls of the incubator. In other words, to increase the temperature, the bulb needs to emit more heat than the heat loss through the walls. Once the desired temperature is reached, the bulb should emit the same amount of heat as what’s lost.The amount of heat emitted by the tungsten bulb is proportional to the power applied to the bulb. Hence, we can control the temperature inside the incubator by controlling the AC input supplied to the bulb. Our design contains a custom built AC phase control circuit, an Arduino Uno, an Adafruit Max31855 thermocouple amplifier and a K-type thermocoupler, an Olimex LCD Shield (16×2 LCD with 4 buttons).


Please refer to our Instructable post for detailed implementation details.
Last week me, Matt and Stacey tried an experiment to culture E.Coli in our DIY Bio lab and used our incubator at constant 37C temperature for around 24 hours. Happily, everything went super smoothly this time. (Even though we had few hiccups in testing stages because of some firmware bugs!)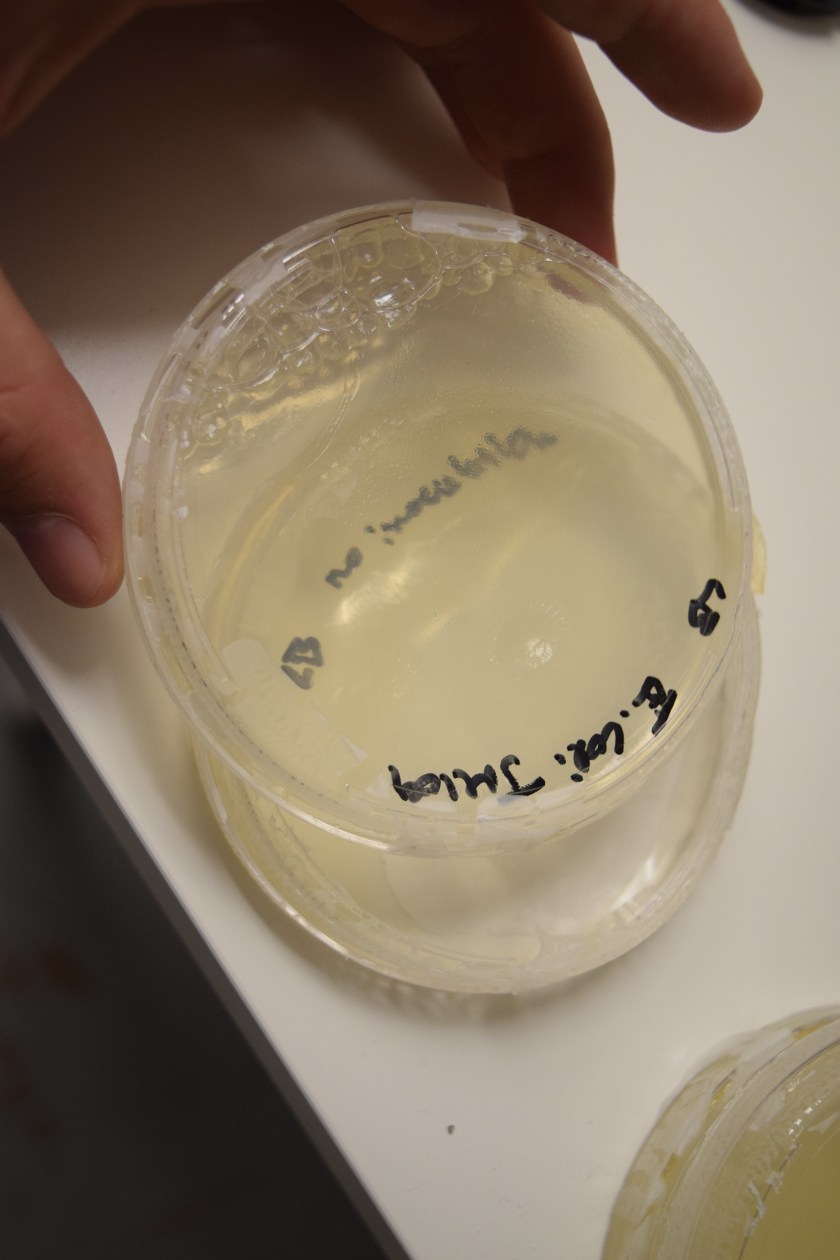
In next steps, we plan to build a shaker and add a camera to the incubator to have a “live feed” of what’s happening inside. We will keep you updated about new developments of this project via SANDS blog. Until then, thanks for reading, I’m Piyum Fernando here, signing off.

One comment